Guides / Process
Deburring and Edge Finishing Acetal Without Leaving Fuzz
October 19, 2026
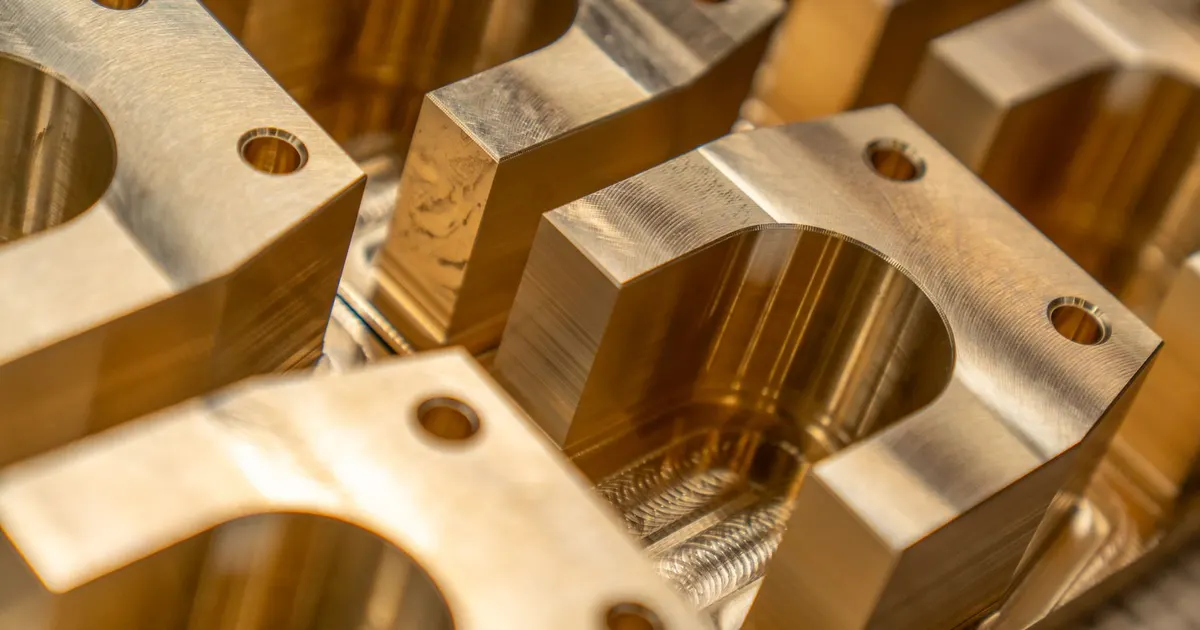
Acetal cuts cleanly when the tool is sharp, yet it still leaves burrs. They tend to be thin, flexible and attached by a tough hinge of material that stretches before it tears. A rough pass with paper or a wire brush will often roll the burr over rather than remove it. The method matters more than the effort.
What the burr is and why it forms
A burr forms where the tool leaves the cut. Instead of shearing off, a bit of material bends outward ahead of the edge and stays attached. With acetal, three things make it worse:
- A dull or small-radius tool. Dull edges push material rather than cut it.
- Exit direction. Burrs form where the cutter leaves the work, so every through cut and every edge crossing has an exit side.
- Heat. A hot surface softens, and the edge smears.
The cheapest deburring step is the one that does not need doing. A sharp tool, a final light pass and a climb cut on exit reduce burr size more than any later process, as shown in the speeds, feeds and tooling guide and the list of common machining defects.
Methods that work
| Method | Best for | Watch for |
|---|---|---|
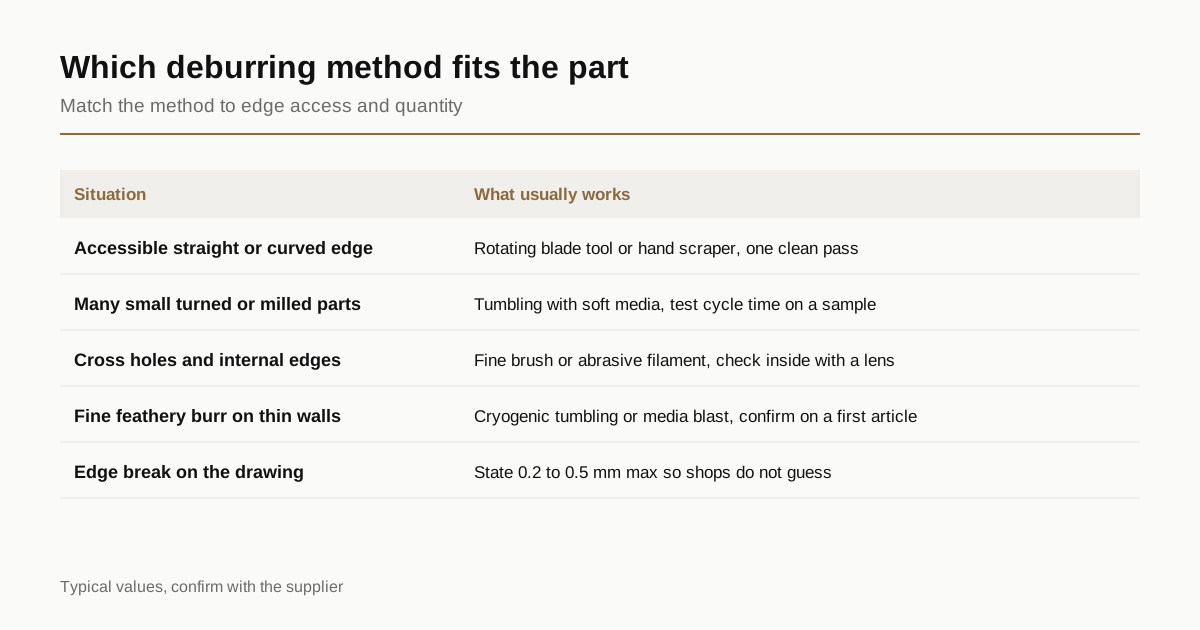
| Rotating blade deburring tool | Straight and curved edges, bore exits | Operator skill, blade wear |
| Hand scraper or sharp knife edge | Individual edges on small runs | Slow, depends on technique |
| Fine abrasive filament brush | Cross holes, internal edges | Can polish or leave fine scratches |
| Tumbling with soft media | Many small turned or milled parts | Dulls sharp corners, long cycles scuff |
| Cryogenic tumbling | Fine, hard-to-reach burrs on many parts | Higher cost, needs a trial |
| Media or bead blast | Surface blend and fine burr removal | Changes the surface texture |
| Thermal methods | Rarely used on acetal | Heat damages the surface |
Rotating blade tools
A rotating blade follows the edge and shears the burr off in one pass. It leaves a small, even chamfer, and it suits acetal well because the blade cuts rather than abrades. It is the usual first choice for accessible edges on a prototype or a short run.
Hand scraping
A scraper or a sharp blade at a low angle removes a burr and leaves the edge crisp. The risk is variation between operators, and slicing cuts into the part surface. For small quantities it remains the fastest route.
Brushing
Fine abrasive filament brushes reach cross holes and the intersections inside a part. Check the result under magnification. A brush that is too aggressive leaves a hazy surface and rounds the edge.
Tumbling
Tumbling with soft media removes burrs across a whole batch, but it rounds every edge and corner and can dull small features such as thread crests and gear tooth tips. Cycle time is a trial and error exercise. A quick test on a few parts is worth the lead time.
Cryogenic deburring
Acetal turns brittle when it is chilled far below room temperature, so a burr snaps off easily while the body of the part stays tough. Cryogenic tumbling or blasting uses that effect. It suits large runs of small parts and costs more per cycle. It is not available at every shop, so ask before assuming.
What does not work well
- Sandpaper and emery cloth. They smear the burr, leave scratches and can embed grit in the surface.
- Flame or hot air. A flame softens acetal and releases fumes. Acetal gives off formaldehyde when it overheats, so heat is not a deburring method.
- Aggressive wire brushes. They tear the burr and leave a hairy edge.
- Hand files on thin sections. They grab and bend the part.
Edge notes on a drawing
A drawing that says nothing about edges invites guesses. Three versions work:
| Note | Meaning |
|---|---|
| Break all edges 0.2 mm max | Light break, edges safe to handle |
| Break all edges 0.5 mm max | Visible chamfer, easy on assemblies |
| Sharp edge, no break, on feature A | Keep a specific edge sharp, often for sealing |
A functional edge such as the shoulder of a sealing groove or a bearing land should be called out separately, because a general break note can ruin it. The drawing notes guide covers wording that avoids disputes. Also check that the edge break fits within the tolerance on mating dimensions.
Cost and lead time
Deburring is hand time, and hand time scales with the number of edges. A part with 40 edges and intersecting holes can cost more to deburr than to machine. Ways to bring it down:
- Reduce the number of intersecting holes and small features where the function allows.
- Add generous chamfers to the model so the machine makes the break, not the operator.
- Specify the edge break value, so the shop does not over-finish.
- Order in batches that fit a tumbling run when the part allows it.
A heavily deburred acetal part adds a day or more to the schedule. See the lead time guide for how finishing fits into the calendar, and the cost guide for what drives price.
Checking the result
A deburred edge should be checked before parts ship. Three quick checks catch most problems:
- Fingernail test. Run a nail along the edge. A burr catches the nail, and a clean break does not.
- Magnified look. A loupe or a bench microscope shows fuzz and raised lips that the eye misses. Check the exit side of every cross hole.
- Sample against a master. Keep an approved edge sample and compare production parts to it under the same light.
For parts with a functional edge, measure the break. A radius gauge or an optical comparator shows whether the break sits inside the 0.2 to 0.5 mm limit. If the shop deburrs by tumbling, check that small features such as thread crests, gear teeth and sealing lips survive the cycle. A part that passes the burr check but has lost a sharp edge it needs has failed in a different way.
Finally, keep deburring in the process plan from the start. A part that is deburred after final inspection can be damaged during handling, and one deburred before final inspection is measured in its finished state.
Checklist before you request a quote
- Put an edge break note on the drawing and mark any edges that must stay sharp.
- Tell the shop where burrs cannot be tolerated, for example on sealing faces or sliding surfaces.
- Ask whether the shop tumbles or uses cryogenic finishing for large runs.
- Keep a sample for inspection under magnification before approving a batch.
- State if a cosmetic finish is required.
When the drawing is ready, send the RFQ and we match it with up to three shops that machine acetal, replying within 24 business hours.
Frequently asked questions
Can acetal parts be tumbled to remove burrs?
Yes, with soft media and short cycles. Hard or aggressive media can leave a dull, scuffed surface or round off sharp features you want to keep. Test a sample batch before running the full order.
Why does sanding acetal leave fuzz?
Acetal is tough and slightly waxy. Abrasive paper tends to push and roll the thin burr rather than cut it, so a fuzzy edge remains. A sharp blade or scraper shears the burr off cleanly.
What edge break should I put on a drawing?
A maximum break such as 0.2 to 0.5 mm on all edges, unless a sharp edge is needed for function. A drawing with no edge note leaves the shop to guess, and the guess often differs between suppliers.
Need a quote for this part?
Send the drawing. We match you with up to 3 shops that machine acetal and reply within 24 business hours.
Get matched with a Delrin shop